If you were to ask me my least favorite part of ‘flipping’ an old house. I’d tell you there is one project that took the longest (over a year), was the most aggravating, required the most ‘do-overs’, and just down right was NOT fun!
Can you guess what it would be?
If you said refinishing our cabinets you would be right! I don’t have a ton of images of the process, but I will try to explain what we did the best I can. I will also give you some tips on what to do and what NOT to do during this trying process.
Here’s what we were working with.


Ugh! These photos stress me out! We have 30 something cabinets…I think it’s 36. You loose count after 20! This is a LARGE amount of cabinets. Though I hated every last one of them while I was deglossing, priming, sanding, painting…I am very grateful to have every. last. one of them!
When I first started this project I took all of the cabinets down and brought them outside. If you have a garage or carport I would HIGHLY suggest taking them there. Because I started off outside, it ended up causing me tons of headaches and wasted time. I had no where else to go. Needless to say I left them outside to dry, dew got on them and birds, yes BIRDS pooped on them! This was all after I had cleaned, deglossed, sanded, and primed them. All of the prepping is the worst part, in my opinion, of the whole process. Here is what I do recommend.
- take them outside and sand them with 100 grit and then 150 grit until really smooth
- wipe all the dust off really, really good (this is VERY important, paint can’t stick to grim)
- make sure you are in a covered area and prime with a heavy duty stain blocking primer (I think ours is ACE brand) prime the back first
- let dry 2 hours or until really dry to the touch
- flip and prime the front
- repeat process with paint (again i used a special cabinet, trim, door paint) color is Cloud Cover by Benjamin Moore
- make sure when you are painting to get a really smooth factory finish you use a FOAM roller! when you prime you can use a brush if you want, but make sure to use a FOAM roller for the paint!

Your home improvement store should have this. It saved my life as far as painting goes, I know you are thinking I’m being a little dramatic, but after spending countless hours fretting over brushstrokes you will know what I mean!
- you will probably have to do 3 or so thin coats of paint on the front of your cabinets doors, just make sure each coat is completely dry (follow the directions on your paint can)
- you should wait at least a week before you hang them.
We waited much, much longer, because the first one we hung did not line back up. If you are having this problem and have purchased new hinges and are trying to line them up with the old holes you could have a problem. We tried to find new hinges that were as close to our old ones. Our old ones were hammered bronze with pointy tops. I didn’t want to reuse them (they were old and flimsy), but I would highly recommend just spray painting your old ones so you don’t have any issues with rehanging them. To make ours fit they are all butted up really close to each other and we still have to close both doors at the same time on some of them. We have found if we sand the doors down where they touch each other we can make them fit.
See what I mean about ‘my least favorite part’? Nothing but a headache I tell ya!
We decided to attach all the doors back but 6. To the far right we removed a drawer and two doors and had installed our new dishwasher by our refrigerator. I have NO idea how I survived the last 2 years without you!
I’m so in love with my dishwasher! He has made my life soooo much easier! I am a cooking, cleaning, machine now that I have him! Wow! Words don’t even…
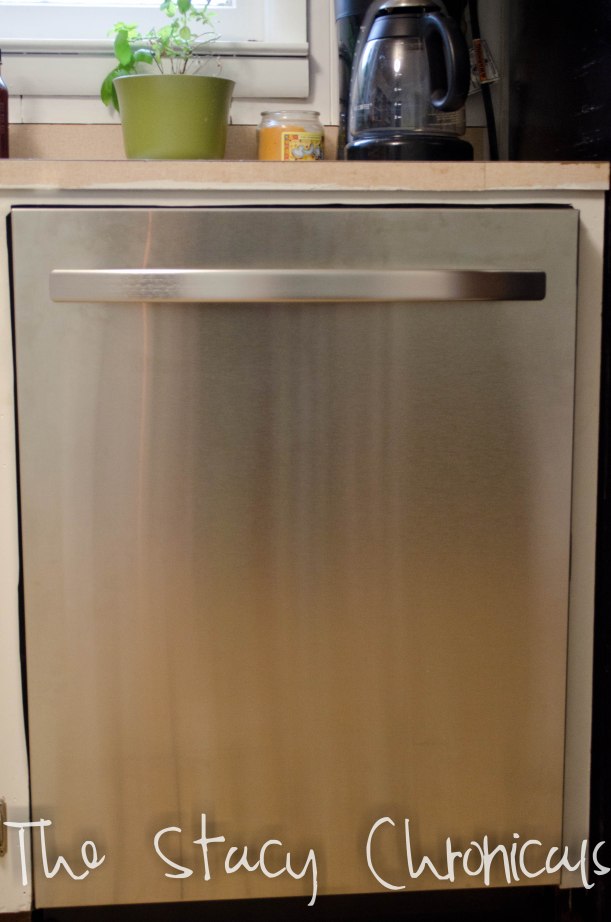
I have found the best way to clean my stainless appliances is Pledge multi-surface. I haven’t really researched a natural alternative, because I already had this on hand, but when I use it all I will search Pinterest for a recipe! Let me know if ya’ll have found anything. I’m sure in the future there will be tons of little finger smudges… 🙂
Besides the cabinets we removed for the dishwasher, we left cabinets open on both sides of our stove (yes, it’s new and it’s gas. I love it as much as the dishwasher)!
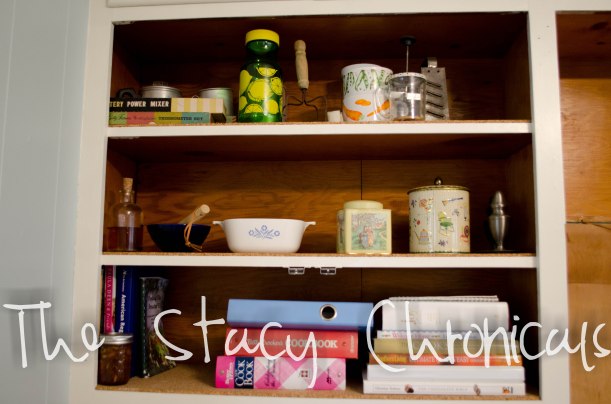 This is the ‘before’ picture of the open cabinets.

Make sure to remove hardware (haven’t done that here) and prime the backs, sides, everywhere. I didn’t have to paint the bottom of mine because we lined it with cork underlayment.
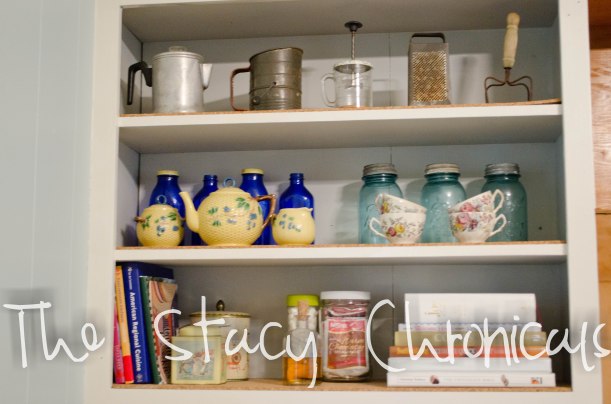 Here are some of my antique kitchen wares. The top shelf is a bunch of items I’ve collected at yard sales, or were given to me by my grandmother. I know the old coffee strainer on the left is from her. Reminds me of my Paw-Paw (he had to have his coffee everyday). The cobalt blue bottles are old Milk of Magnesia containers (I think) given to me by a sweet, sweet, lady at church here in Piedmont. The Tea Set was given to me by another sweet lady from Tulsa, Ok. It’s actually from Tiffany’s. I really need to get it appraised. I haven’t been able to find anything on the internet about it. I picked up the blue Mason jars and tea cups (my all time favorites) at a local thrift store, along with the old timey tea tins. I keep my fresh tea leaves in there. I tried to put all my cookbooks on the shelf, but cookbooks are so tall!
 I LOVE this side! In case you haven’t noticed there is a definite blue/green/grey theme in our home. We love spa/ocean/calming colors. Reminds us of home. I pretend those are sea gulls on that pitcher too. There is also an obvious ‘tea’ theme going on. I love me some hot tea on a cold morning! English Breakfast is my tea of choice (in case you were curious).
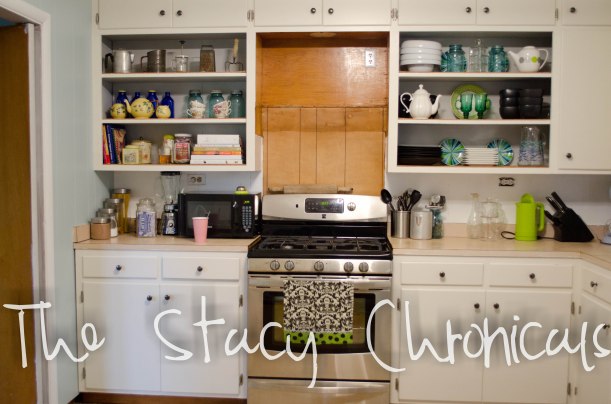
Here is a shot of my beautiful stove! Oh how I love this stove. I think she is a girl, since the dishwasher is a boy. I think that’s a great idea! 😛 Well, I sat my pink cup on the counter and forgot to move it for the shot. 😦 Oh well. Anyways my stove is gas and has grates across the top, in the middle is a griddle size grate. I don’t know if that is what it is called, but I put my griddle up there and I LOVE it! There is an obvious, ugly, brown square in the middle of my kitchen. That is where our future microwave (that matches the stove/dishwasher) is going. We plan to make concrete countertops and then we will replace the sink with this:

What’s better than a farmhouse sink?
We also plan to lay gray floor tile and to put up white subway tile for our backsplash. Here’s another shot:
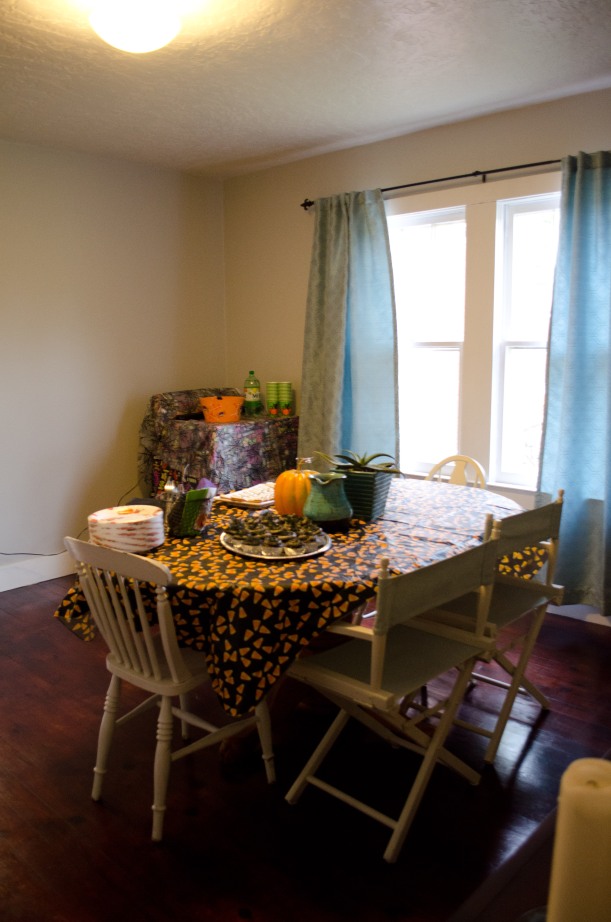
 I don’t know if I mentioned this earlier but the paint color in the open shelving is Stonington Gray by Benjamin Moore. This is the same color that we painted the dining room, hall, and will be painting the boy room. I love it. I think it looks good with the white/gray. I’m not sure if the wall color on the left will stay the same. Also, ignore the ugly crockpot. I was making meatballs for the Halloween party.
So there you have it…so far. Still a long ways to go, but we are done with the cabinets and I now have a stove and dishwasher so I am one HAPPY girl! Sorry for such a long post. It should have probably been 3!
 I know it’s not a good shot of the curtains, but maybe you can see how they are 5 inches above the ground! Why even make curtains? Is this the new style? Ick! Anyways, back to the nursery. Oh btw, I think I will be making all of my future curtains!
 I’m not quite sure why the curtain on the right looks like the fabric starts so much higher. All four of the curtains in this room are the exact same. You can see that both fabrics touch the floor at the same length too. I guess our walls are wonky. It doesn’t bother me as long as they touch.
 Other window. That is Jeff’s monkey from when he was a baby. I’m going to make a shadow box for it. You can’t see the bottom of the fabric here, but it’s the same colors, but the pattern is just petals falling. Whenever we get our bookcase we will have it pulled out to the sides so you can see.
 I love this fabric. It’s like a vintage watercolor fabric. I was nervous about bringing the florals in here, because more than likely this room will be home to boy and girl toddlers. SO I asked a teeny-bopper if the room looked like a boys or girls and she said BOTH! Success! I’m one happy mommy (to be)!
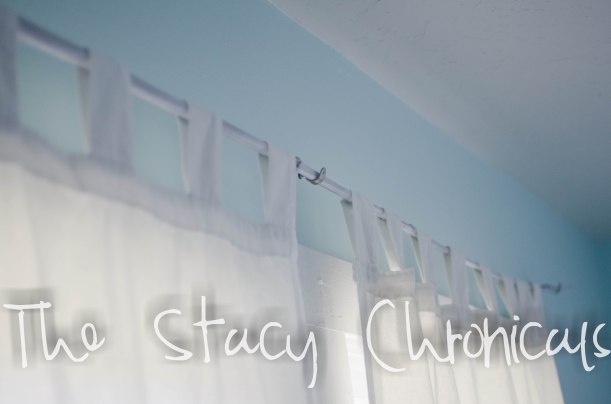 The only bad thing is it gets a little thin on the right side, so not sure how well it will hold the weight. Seems to be okay since we have the center bracket.


