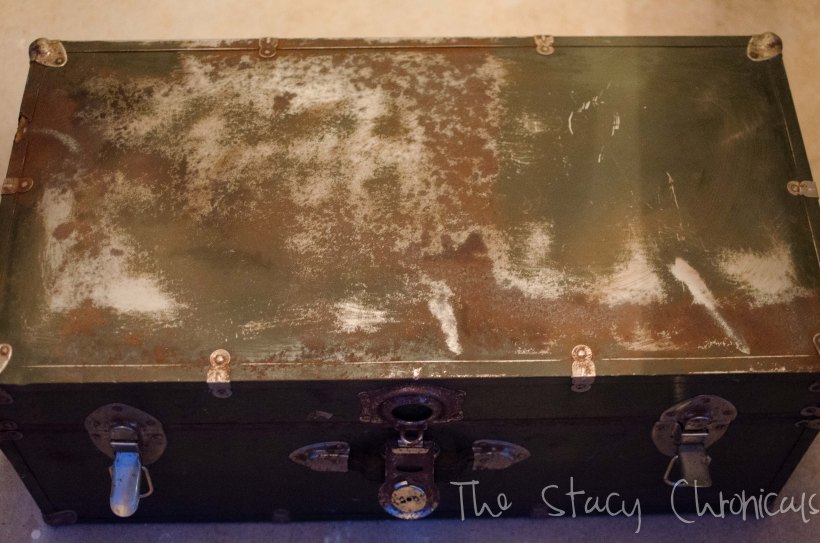
It’s not doing me any good right now, because while I was taking pictures of it it locked! I was so excited to have this old trunk to use as a toy chest! I had no idea it could lock on it’s on. I’m pretty upset right now, but will do this post anyways. If any of you have ideas of how I can open up this baby without having to shell out $40 please let me know! I bought it at a thrift store for $20. I thought that was a fair price considering the condition. It’s pretty useless to me now, since I can’t store anything in it.

 Not in great shape, but nothing was missing…but the KEY! Anyways. I picked this one because it is small and had leather handles instead of plastic or vinyl.
 Not sure if I’m done with her. I thought about distressing the hardware or maybe adding some gold like here. If you haven’t checked out Lovely Indeed, you really should. Her home is so beautiful to me! I especially love her living room.
So here is what I did to my old trunk:
- first sand all the rust off. i used 60 grit and a small power sander.
- prime. i primed inside and out.
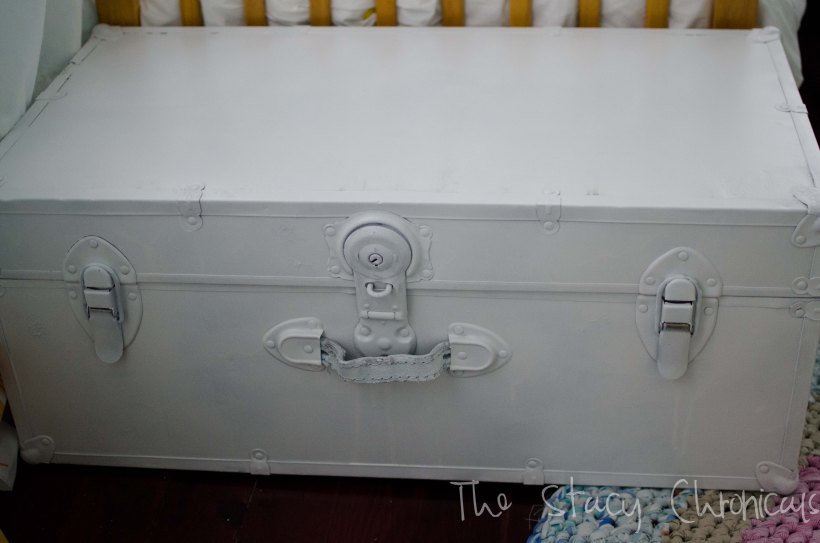
- paint! super easy.
- if you want your hardware another color or want to leave it original tape it off.
Yes, I know my paint job isn’t that great. I need to do another coat. I’m just waiting to see if I’m going to go with the gold. Then I will tape the white, spray the hardware, then paint the white again. I had to get this done, so I could have a place to store all the baby toys before the homestudy. I wanted to go ahead and post it while it was fresh on my mind.
Anyways, this is a super EASY project. Would look great as a coffee table or nightstand. I’d love to do another one and put legs or coasters (as a coffee table) on it!
My favorite part of the whole chest is the inside! I had left over fabric from when I made the cushion to go on our bookcase/bench. Take a look.
The inside needs another coat of paint, I already did 2 or 3. I figured since it was inside and will be filled with toys, I’d probably skip painting another layer. 🙂
 I had this left over chevron fabric from this project. I think I got it from Hobby Lobby. You just want to cut your fabric to size, mod podge (I just slowly worked my way from one side to another), and then mod podged on top. I used a foam brush and let it all dry overnight before use.
I love this fabric from Ikea! So happy I had enough for this project too!


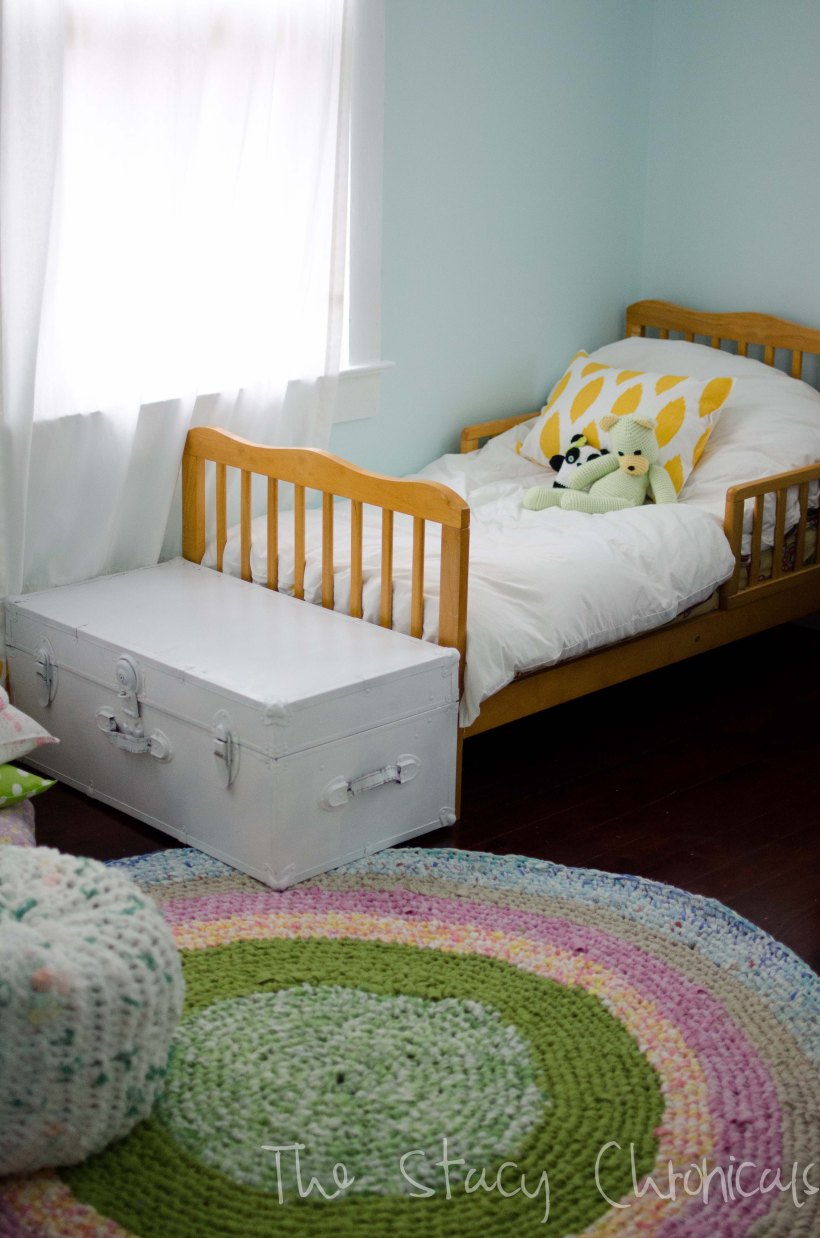
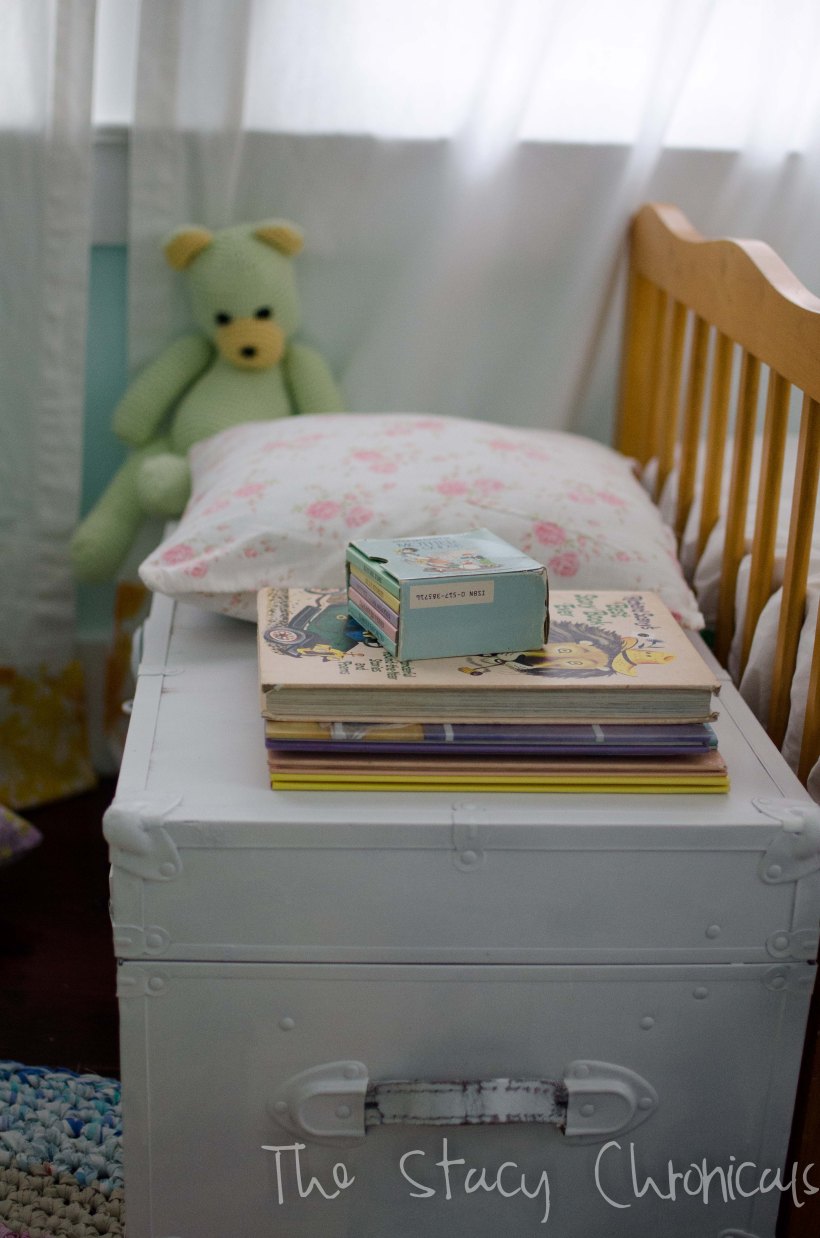
 Besides being a toy box it makes a nice little reading bench!
**UPDATE** We had to use brute force, but we have the lock open! Yay! I can use my chest now! It’s not tore up too bad, but we made sure it won’t lock again!


November 27, 2012 at 11:24 pm
Love it!! I got one from a yardsale acouple years ago for a couple bucks. It is not in that great shape though. But it had some old news papers and an autographed boxing announcement from t 80’s. I wondered what it would look like if I painted it. Hmmmm. maybe i should check my spray paint stash…..
November 28, 2012 at 1:36 am
there’s so much you can do with them! i wish i could find one for a couple of bucks! i hated to pay $20, but needed a toy box immediately!!! 🙂 now it’s packed full!
December 5, 2012 at 12:34 am
Love the trunk!! Where did you get the amazing rug?
December 5, 2012 at 1:03 am
i made it amber! i cut up vintage sheets and crocheted it! i am actually thinking of selling this one and making a more neutral one for in here, but shipping would be a beast… its so heavy! thank you.